More info coming soon, but a HUGE step toward finalizing the cabin!
Our First Inspection – Passed!
Well, third time’s the charm, but we’ve finally passed our temporary power inspection. Needless to say it was a frustrating process, but it has made us much more prepared for the inspections we will go through in the future. We’ve purchased some new books to help us along the way and hope that will make things go a little easier next go round:
http://www.amazon.com/gp/product/160085334X/ref=oh_details_o01_s00_i00?ie=UTF8&psc=1
http://www.amazon.com/gp/product/1600852610/ref=oh_details_o01_s00_i01?ie=UTF8&psc=1
We had a few hiccups along the way:
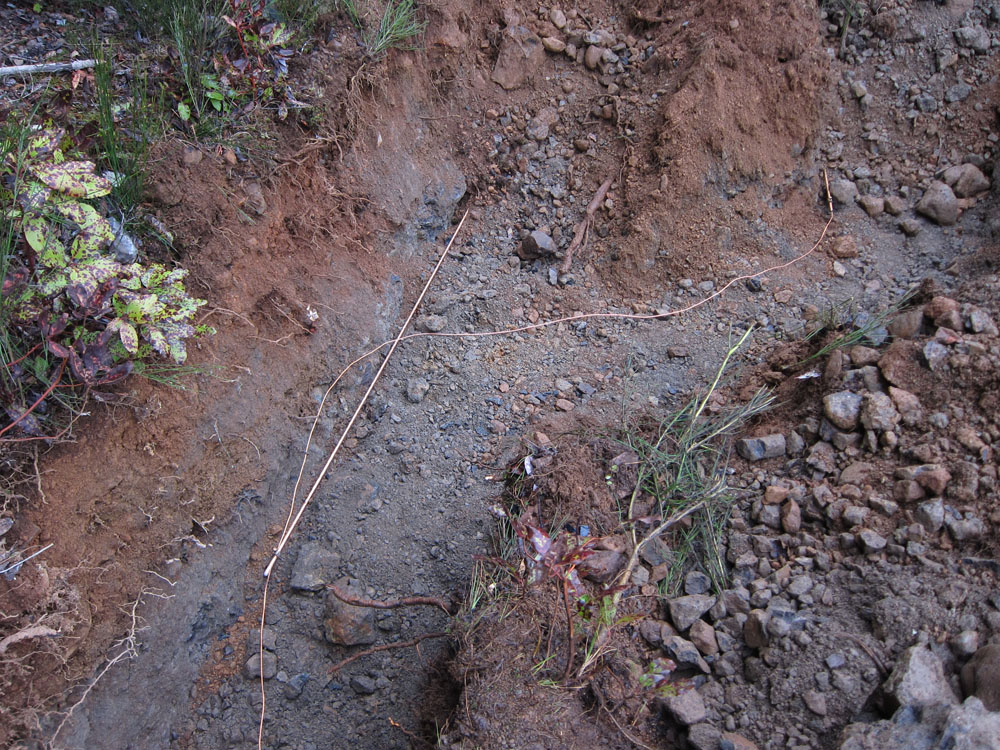
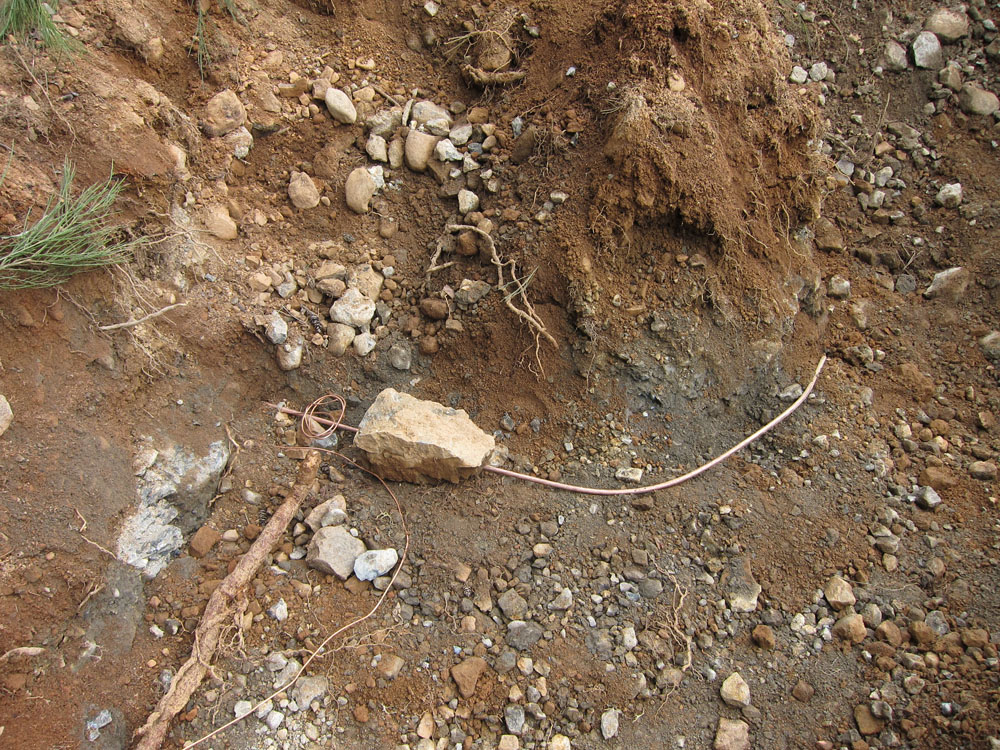
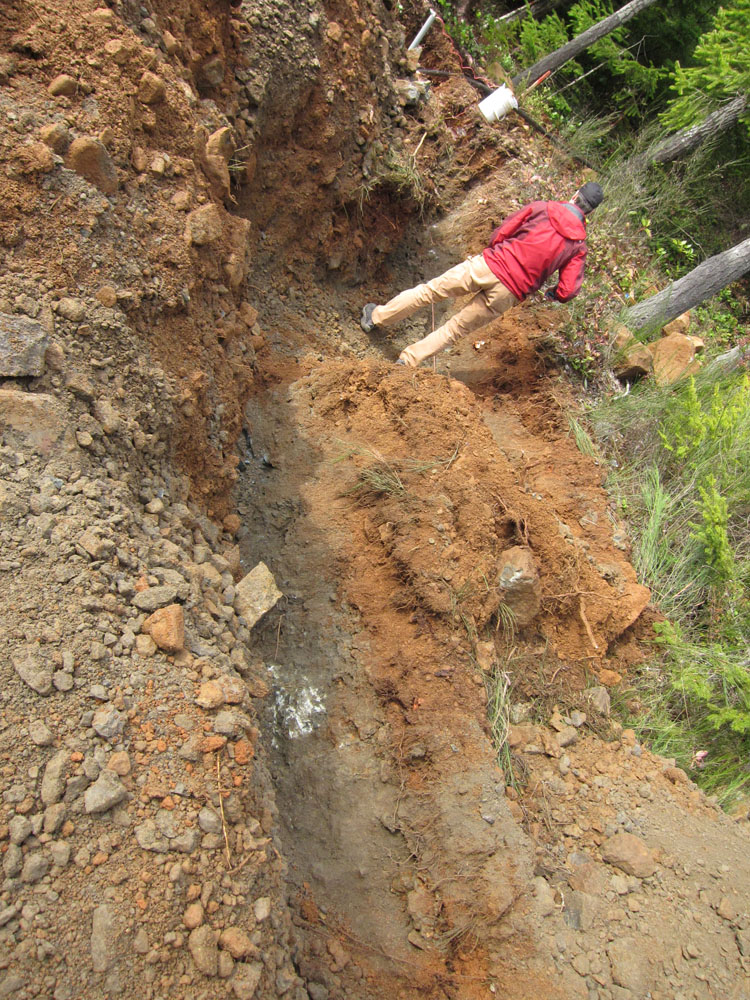
- The land is VERY rocky. We hit bed rock at 18-36 inches consistently. We (err, Robert) was convinced that the trenches could be dug manually. Robert had a “fun” time trying and our excavator came to the rescue with rock teeth on his excavator. Because the land is so rocky, we can’t drive the grounding rods the full 8 ft so we needed to lay them on their side to meet code. Apparently one must show that you’ve tried to drive them, so we had to try to drive them (which did, believe me!) Then bend them over. You’ll see in the photos below pictures of both scenarios.
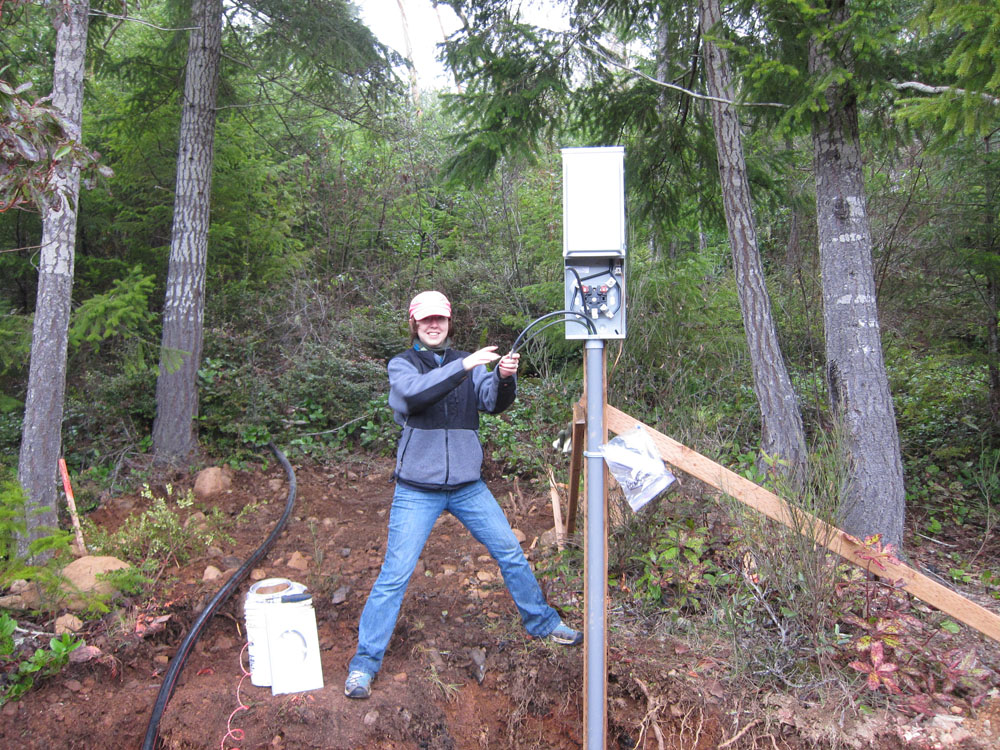
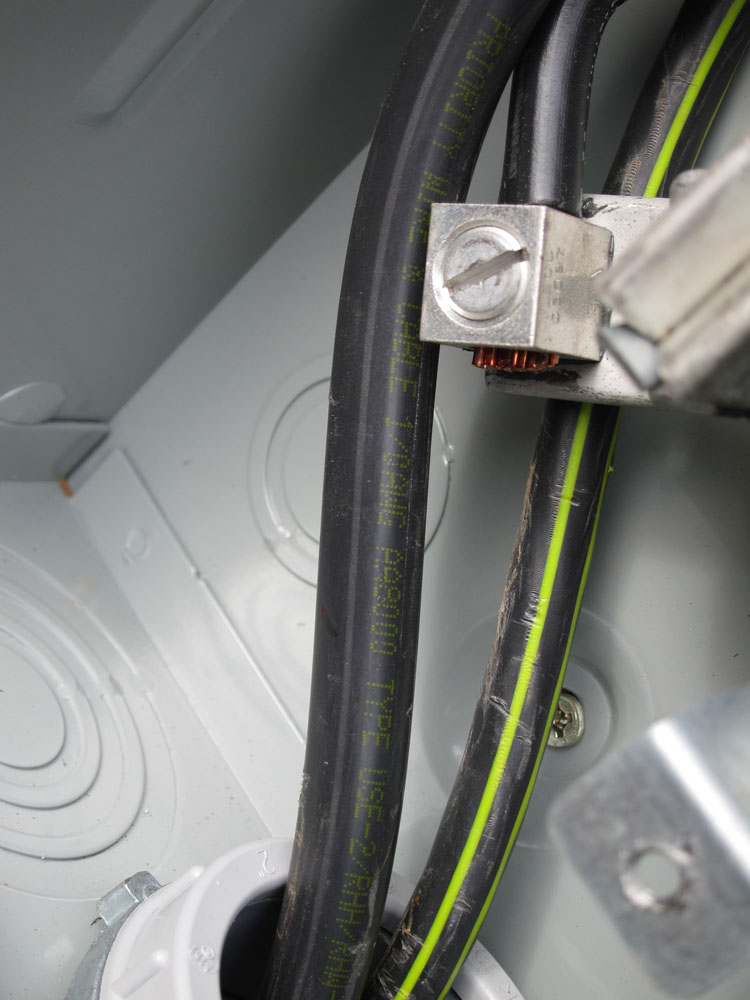
- One must apply some sort of anti-corrosion gel to the connections inside the box. This is buried in the code. You’ll see the connection in the photos without the gel.
NOTE: I am not the electrically savvy person in this relationship, so please forgive the non-technical speak and if you have questions, ask Robert!
What was I doing while Robert was physically exerting himself trying to dig trenches and drive grounding rods into bedrock? I was clearing our “first” trail. That’s a topic for another day. For now, we passed inspection!!!
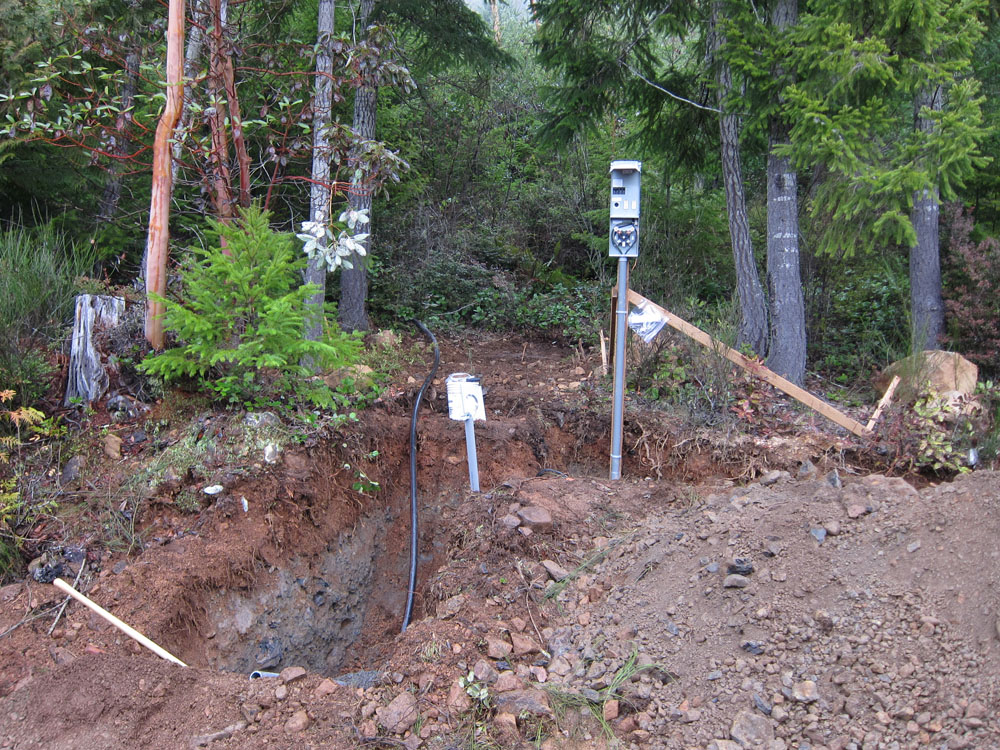
Here are some pictures of the process.
The PUD (power utility district) has been fantastic. We passed inspection on Tuesday and we are already powered up. Dan, from Morger Construction–who is absolutely fantastic–will be there soon to fill the holes.
Next up: the well!
Exploring
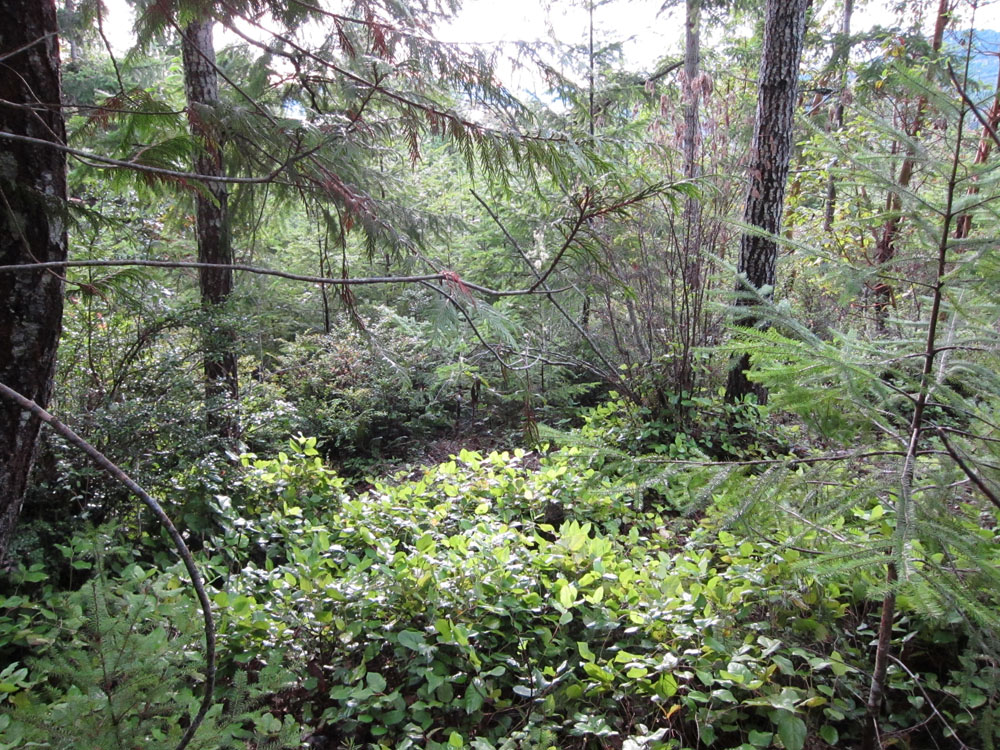
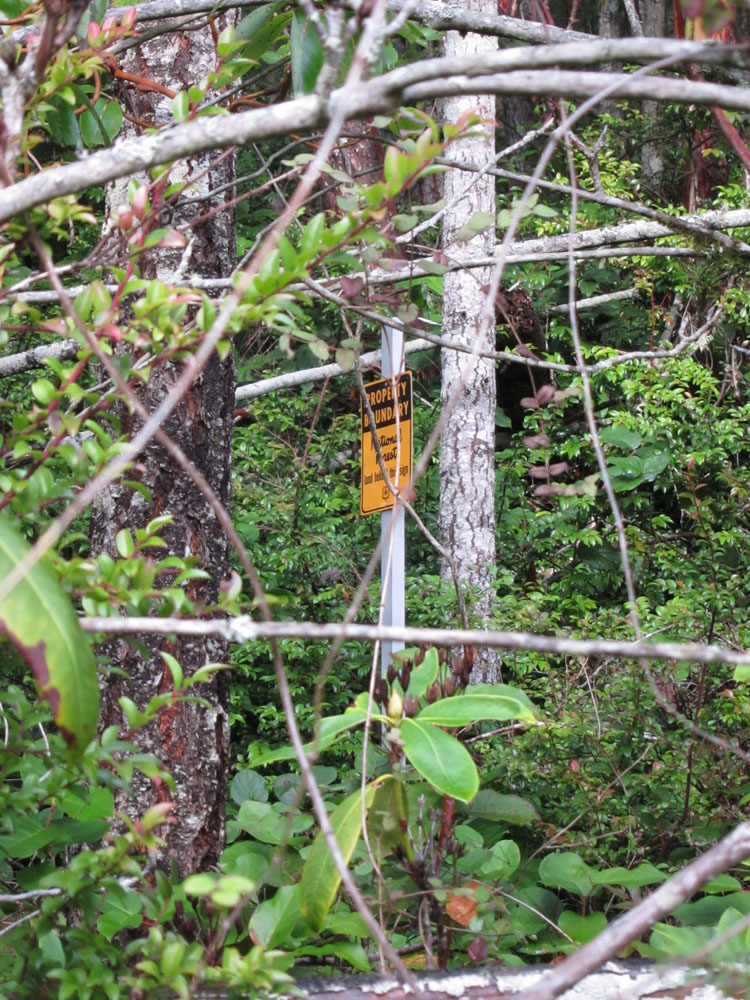
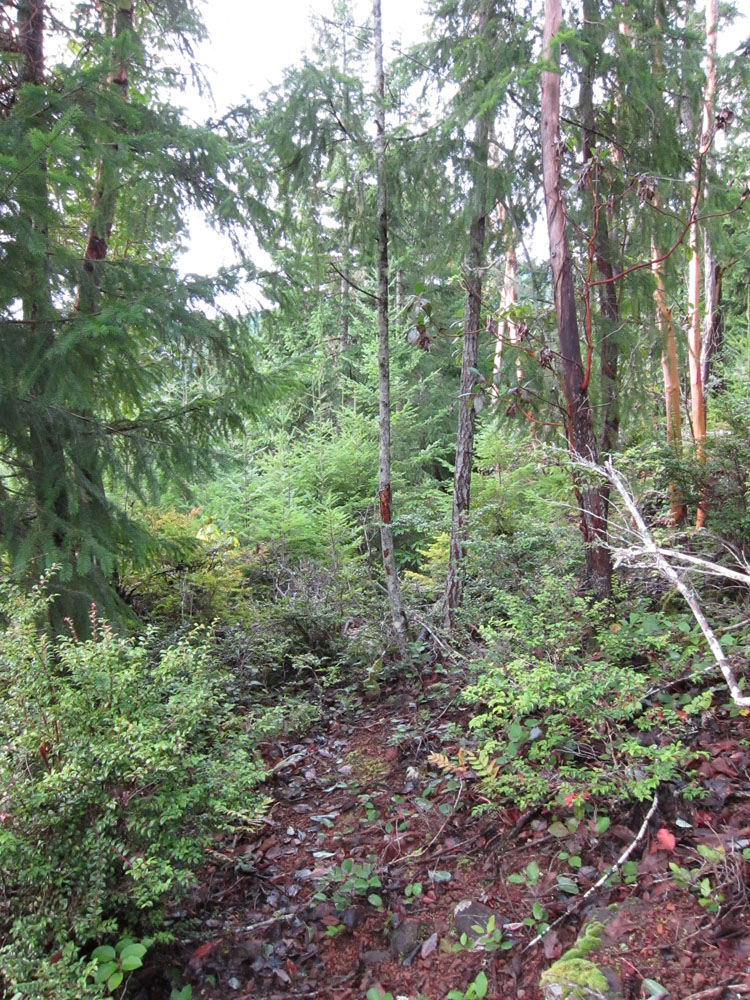
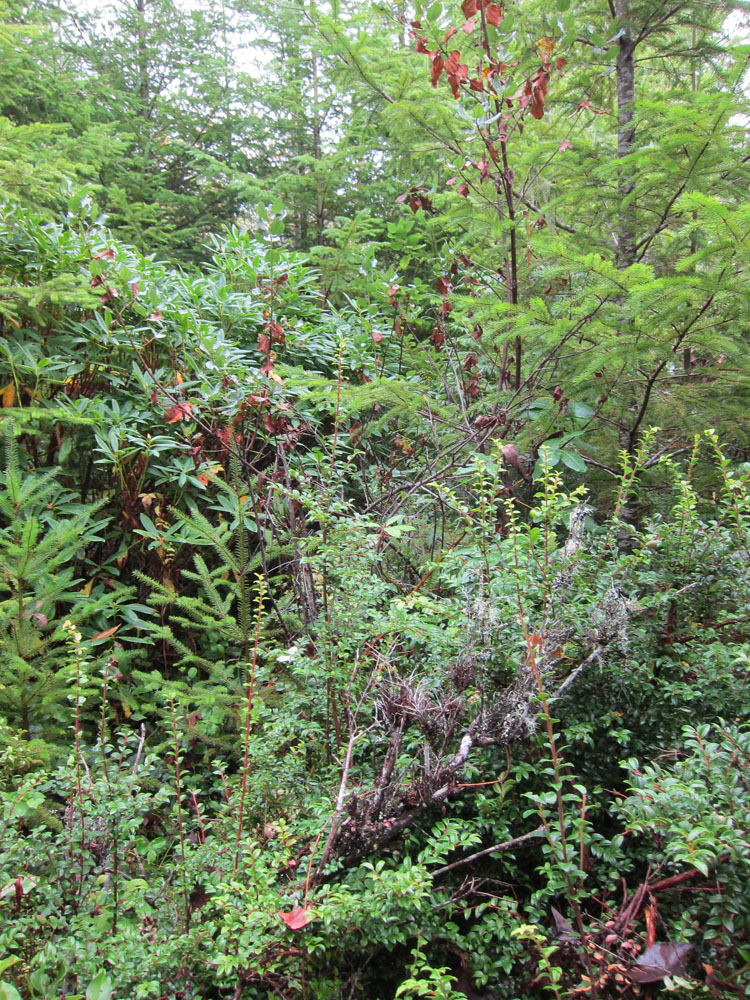
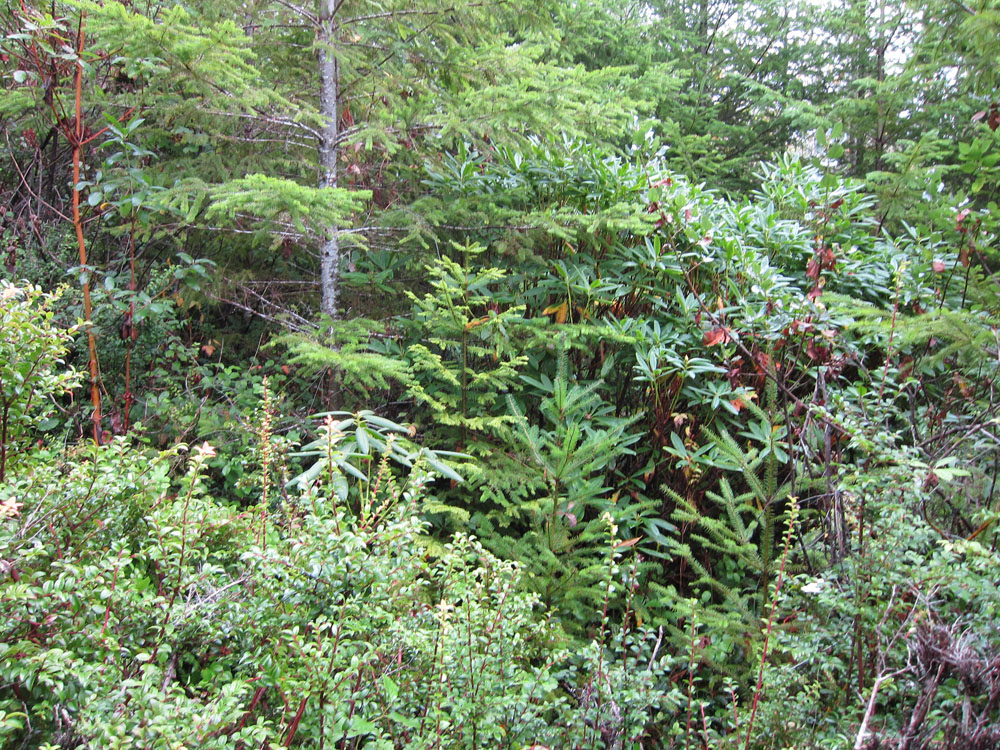
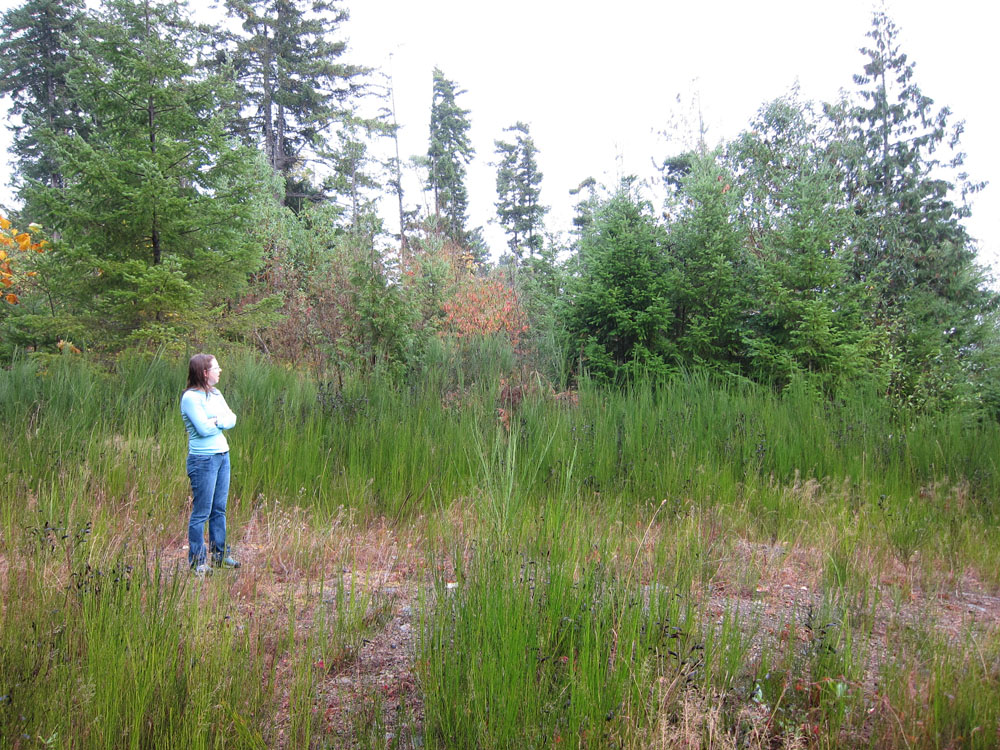
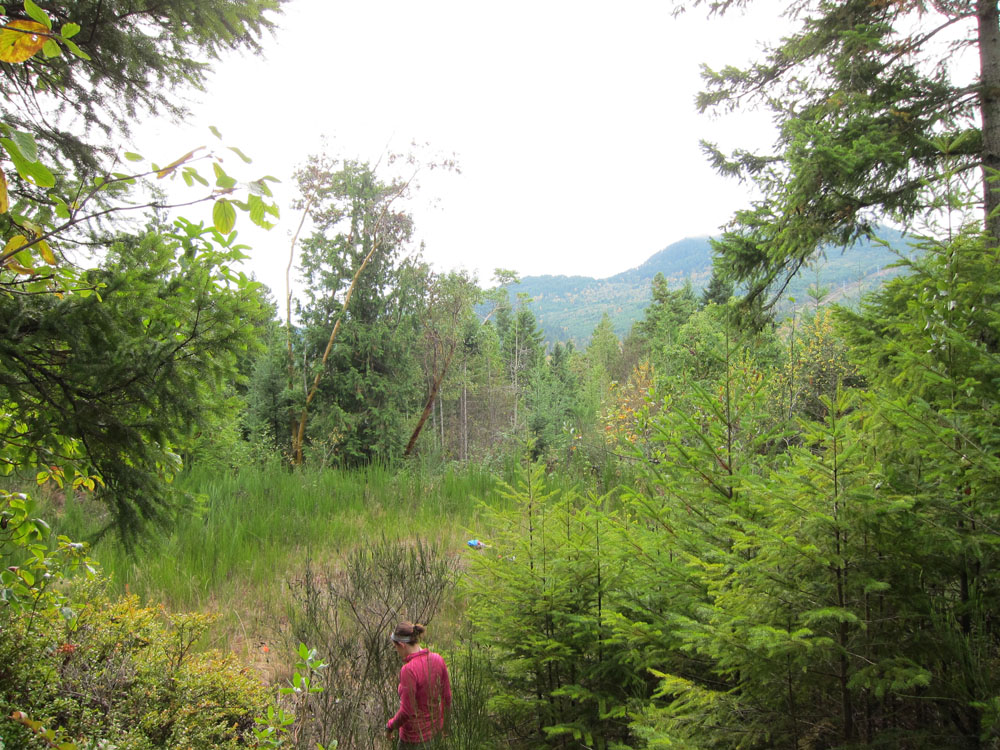
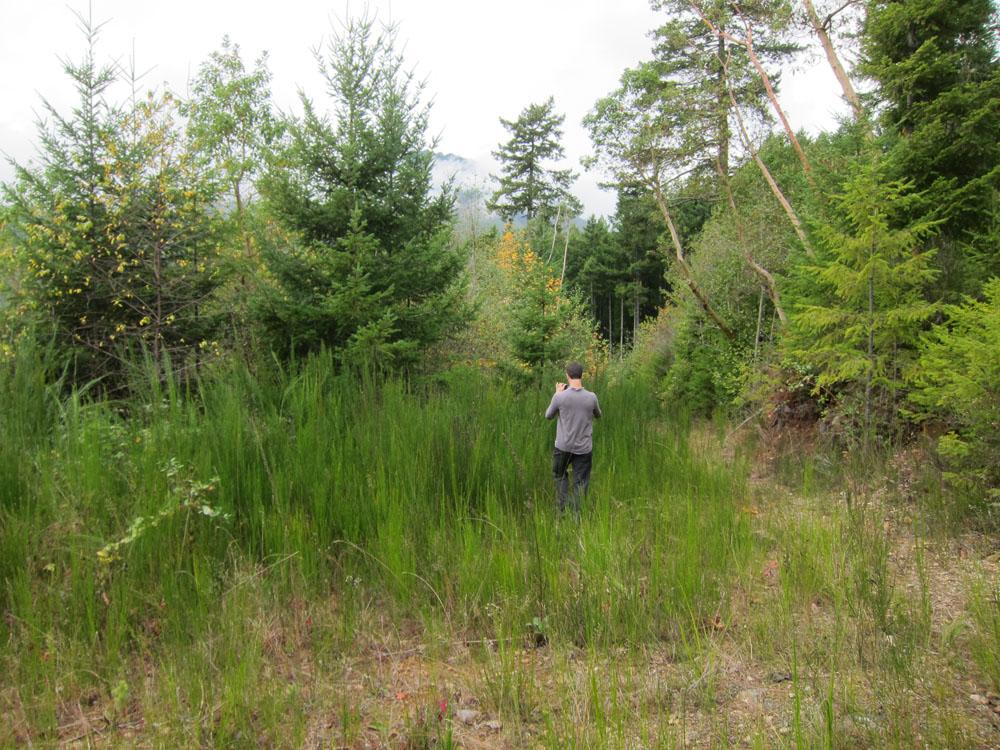
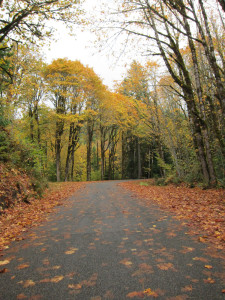
We’ve had a chance to do some exploring and wanted took some pictures along the way. As we develop the site, you may see these pictures show up again as “before” shots. I know you all don’t want to wait for the “after” shots to be ready, so here you go:
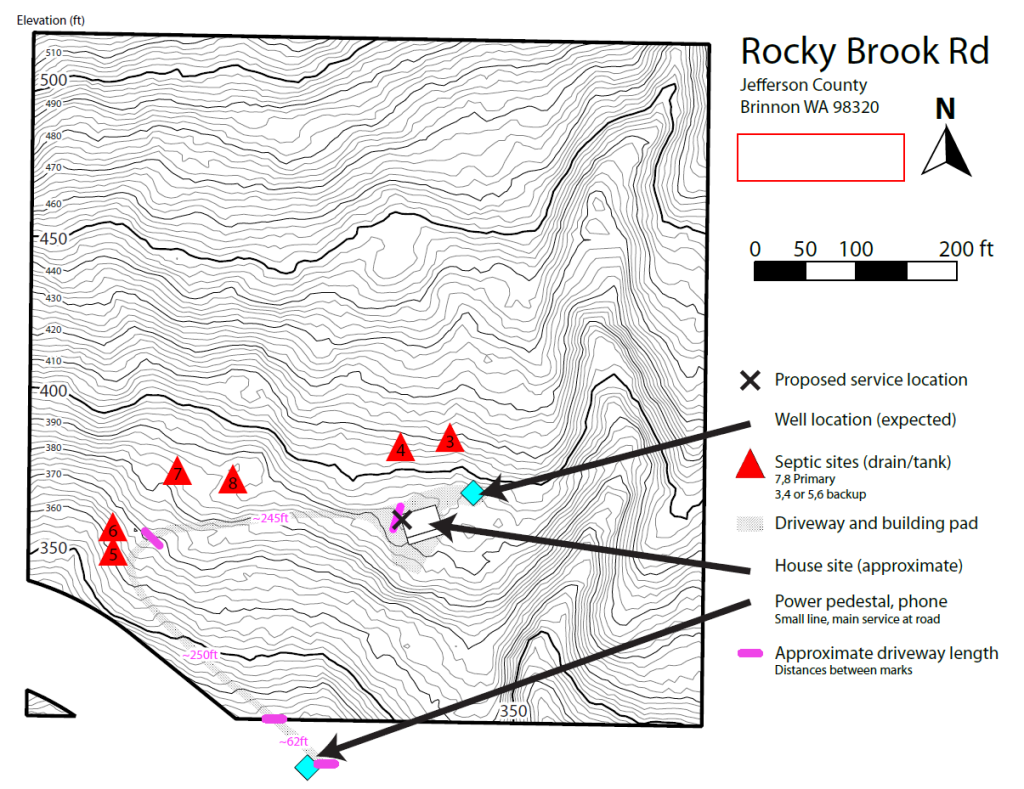
Overview of the Site
The First Look
Here are some pictures of our first few trips to the property in fall 2012. I included some pictures with us in the image (even though we aren’t paying attention to the camera) to give you some size perspective.

