Love at First Sight

3 years ago this month we saw the property for the first time. It’s truly amazing how much has changed since then. It’s even more amazing how much work is left to be done on this 10-acre beauty. For now, we’ll revel in the cabin and enjoy the new tractor (not pictured).

In honor of this anniversary, I thought I’d finally post the pictures of the final product.

Much love and many thanks to all who supported us throughout the process. Enjoy!
Kelly & Robert

Cabin-Ortho


Cabin-WestCabin-Kitchen

Cabin-West_Loft

Cabin-East_Loft

Cabin-Vanity

Cabin-Bath

Countertops and railings are in!

Such a productive weekend! We were able to cut and lay the countertops (reclaimed slate chalk boards from a local high school). The red stuff in the pictures is water proofing on the substrate and we will cover it with wood edging.

I also finished the shelving on the custom cabinet that we did. We used leftover flooring and it looks great.

Robert mounted all of the posts for the railings and we mounted the top rail. The materials for the rest of the railings aren’t here yet, so they will stay like this for a little while.

20140330-181210.jpg

20140330-181220.jpg

20140330-181228.jpg

20140330-181237.jpg

20140330-181247.jpg

Progress on the floors

First of all, we took last weekend off so that we could watch the Seahawks win the Super Bowl! Now, we are back at it.

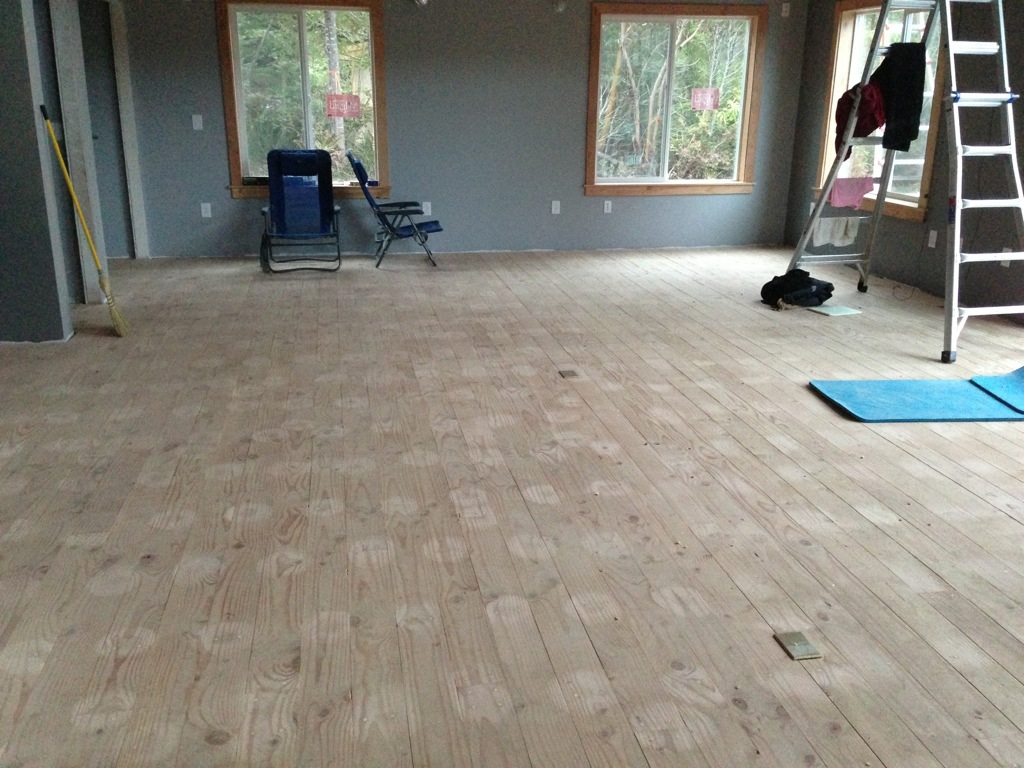
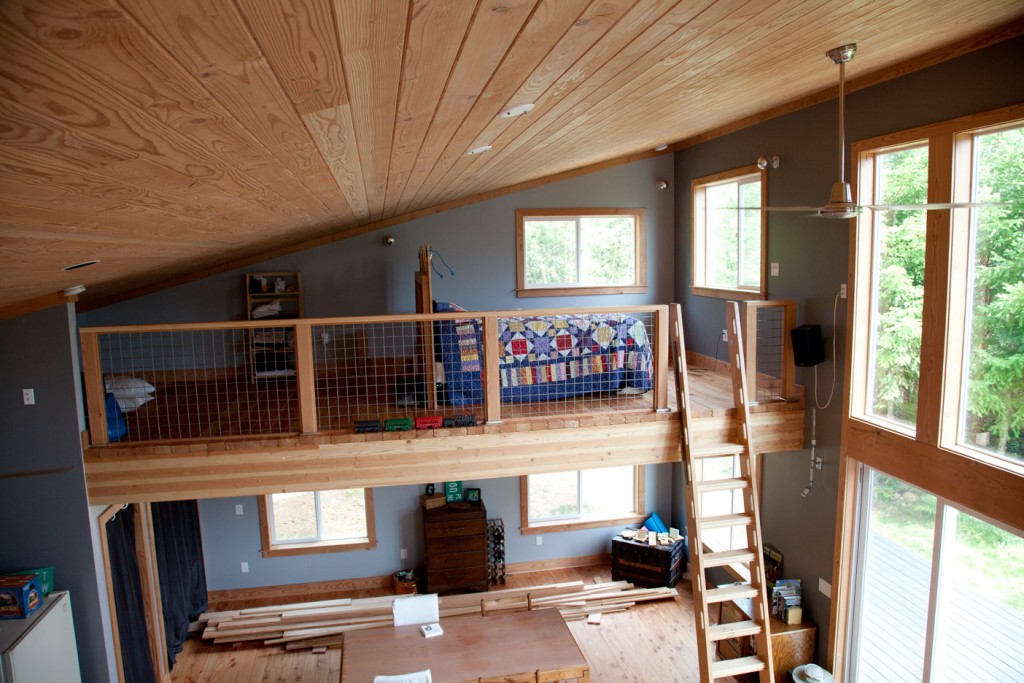
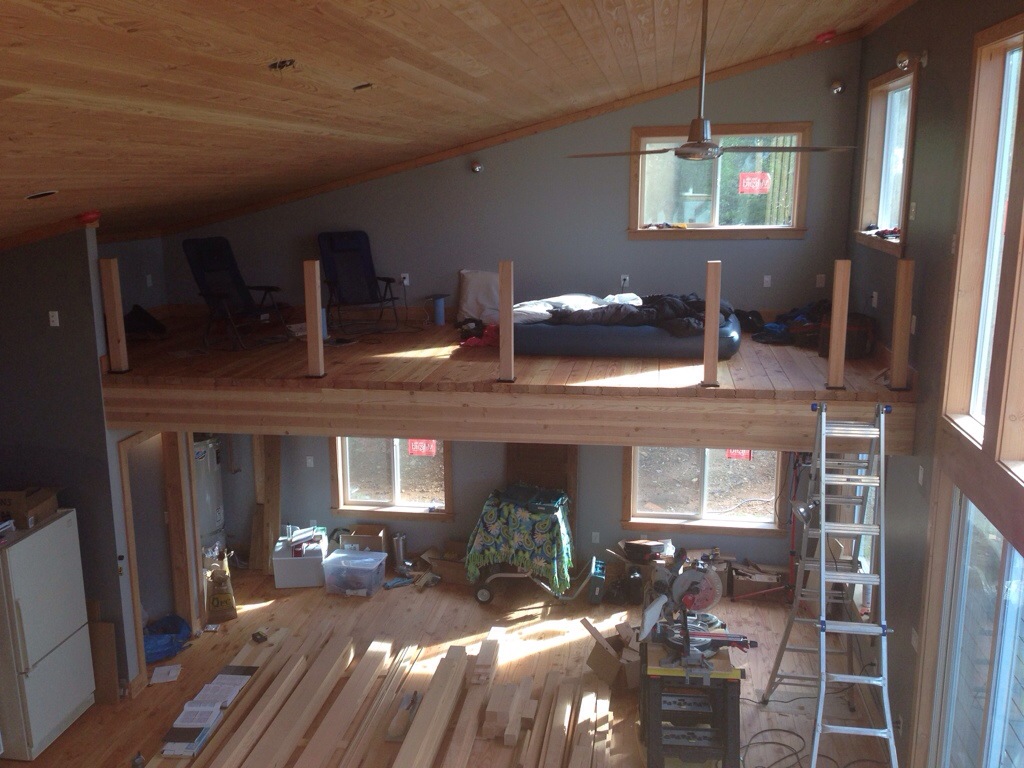
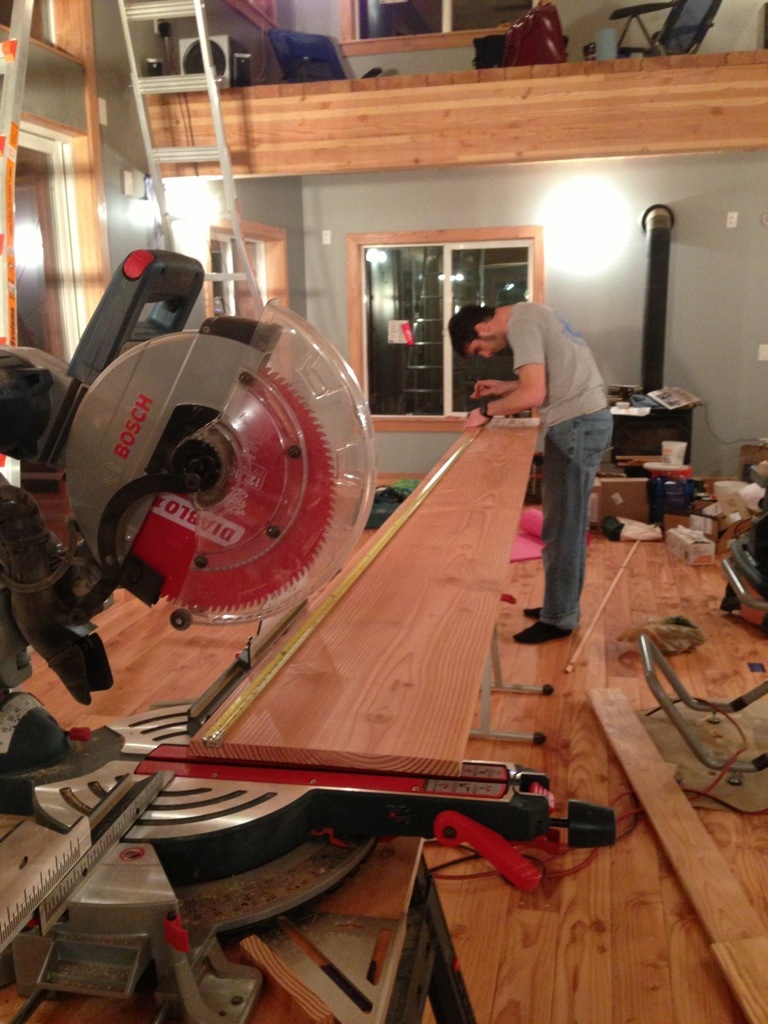
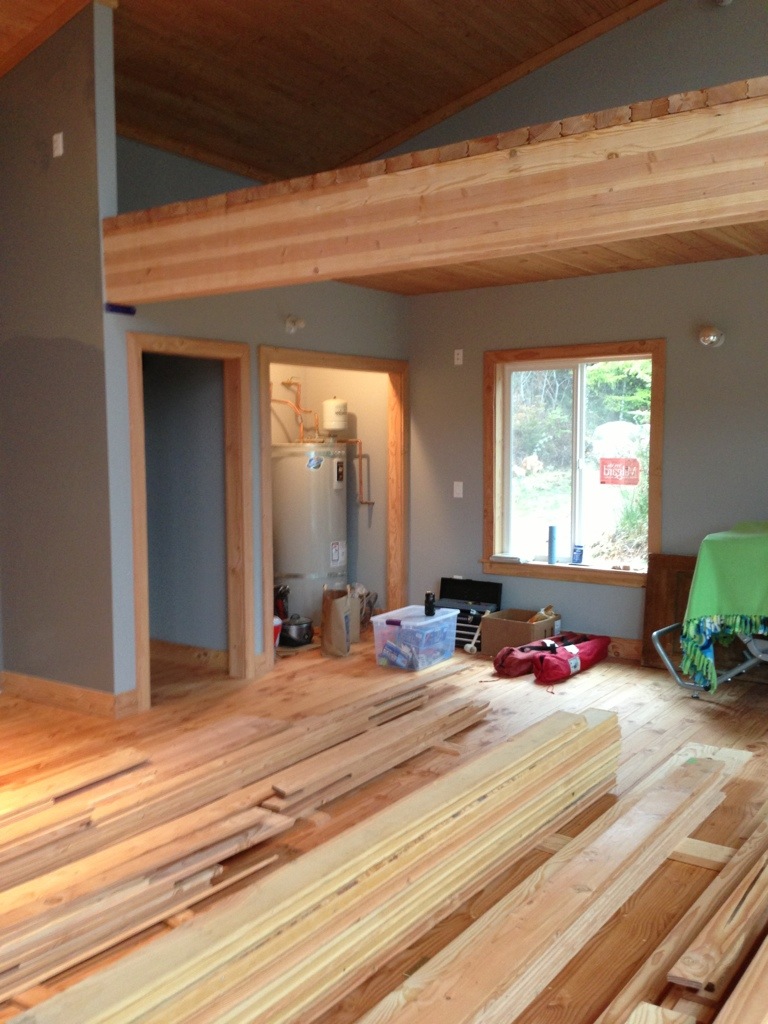
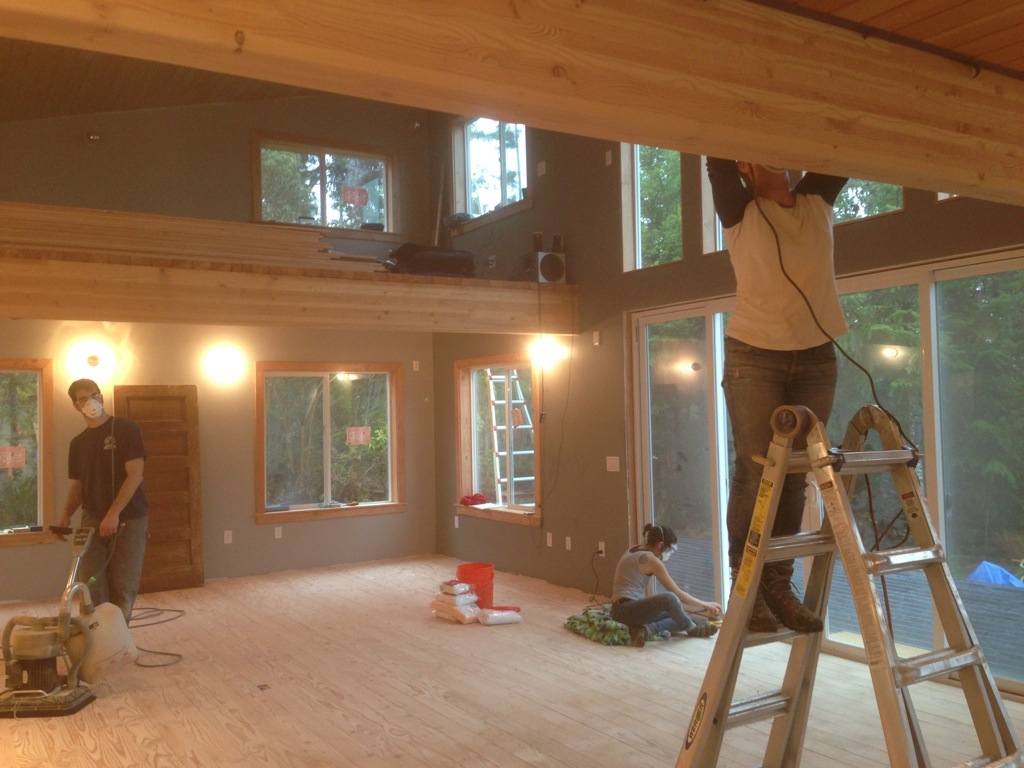
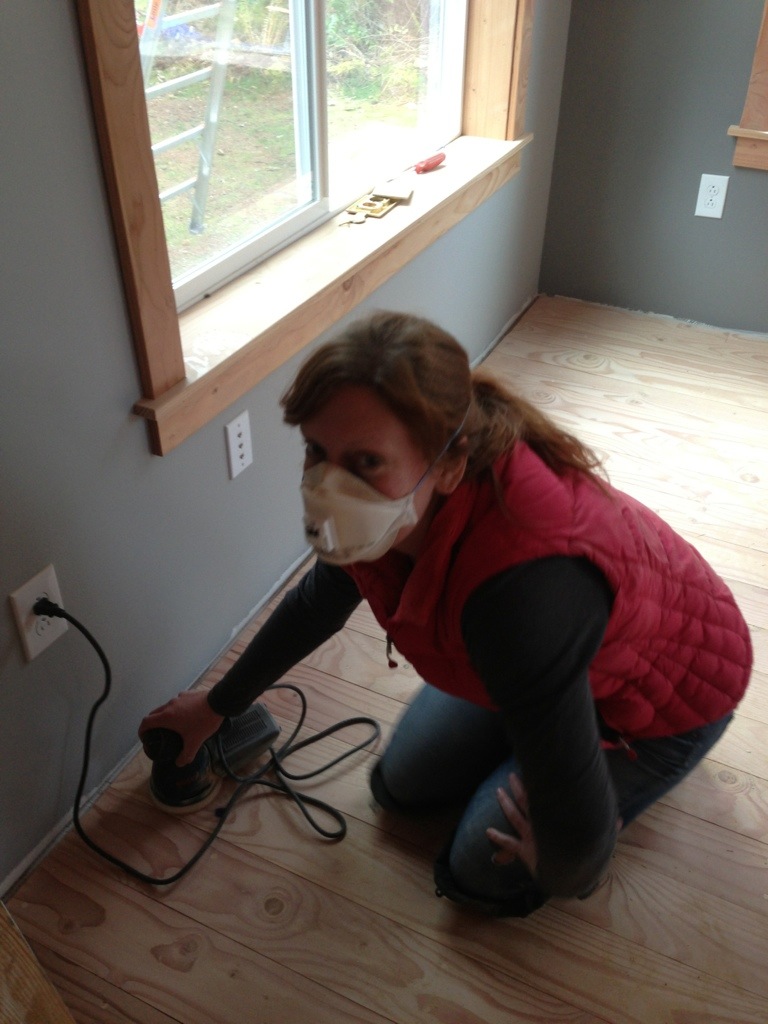
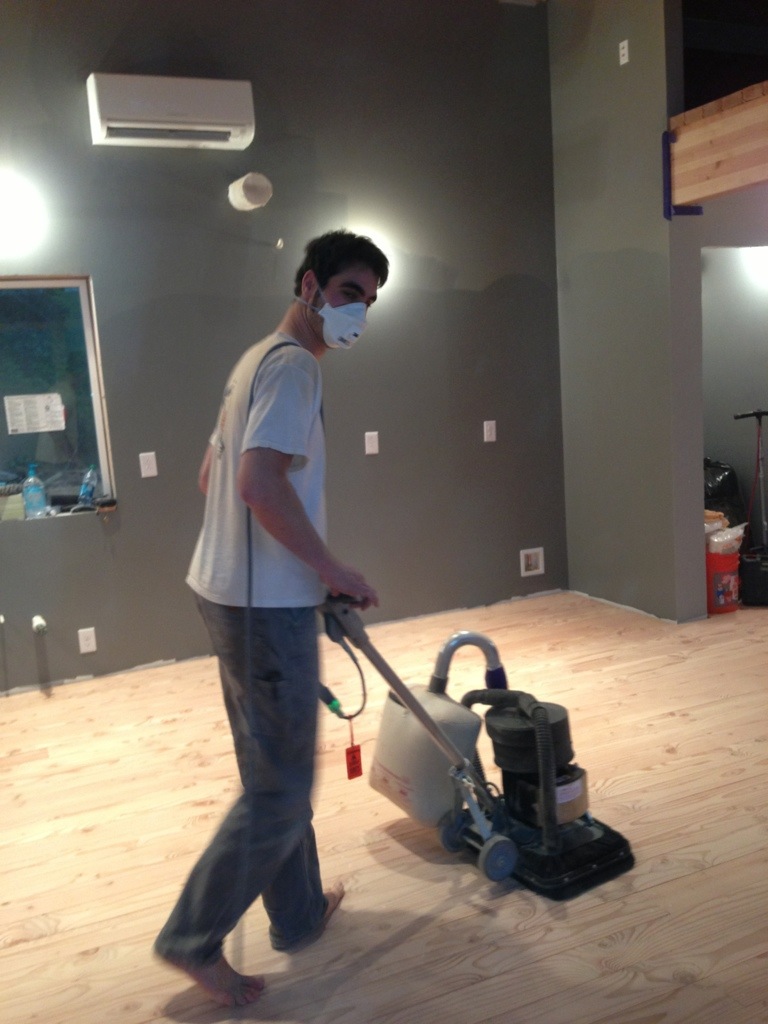
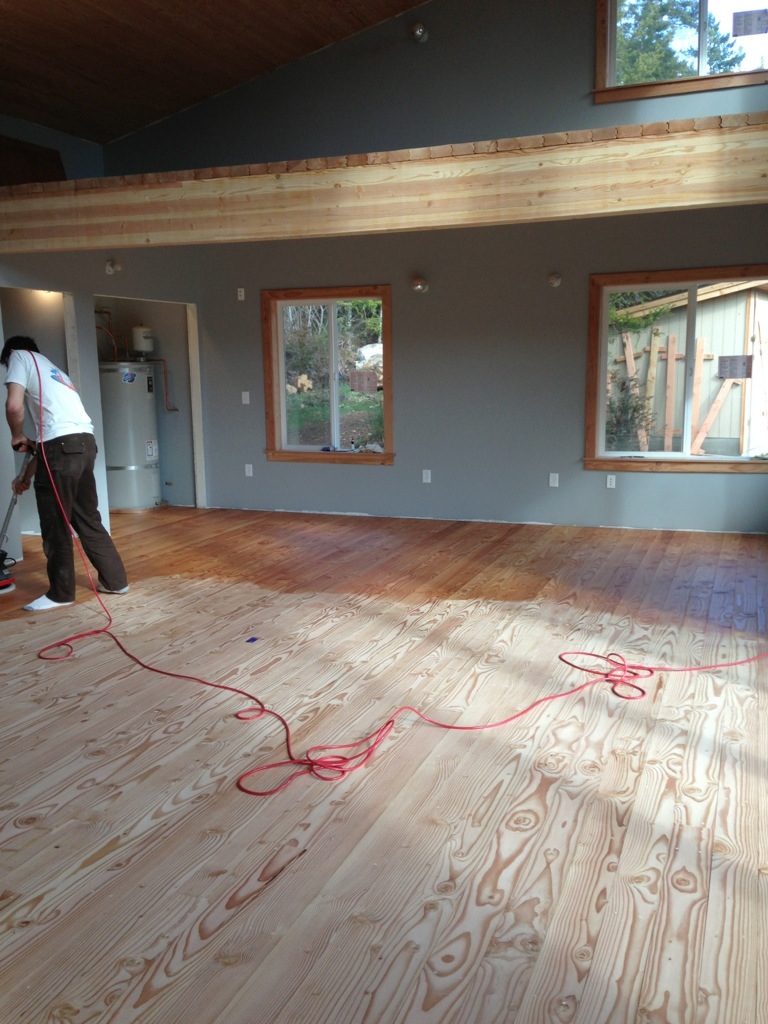
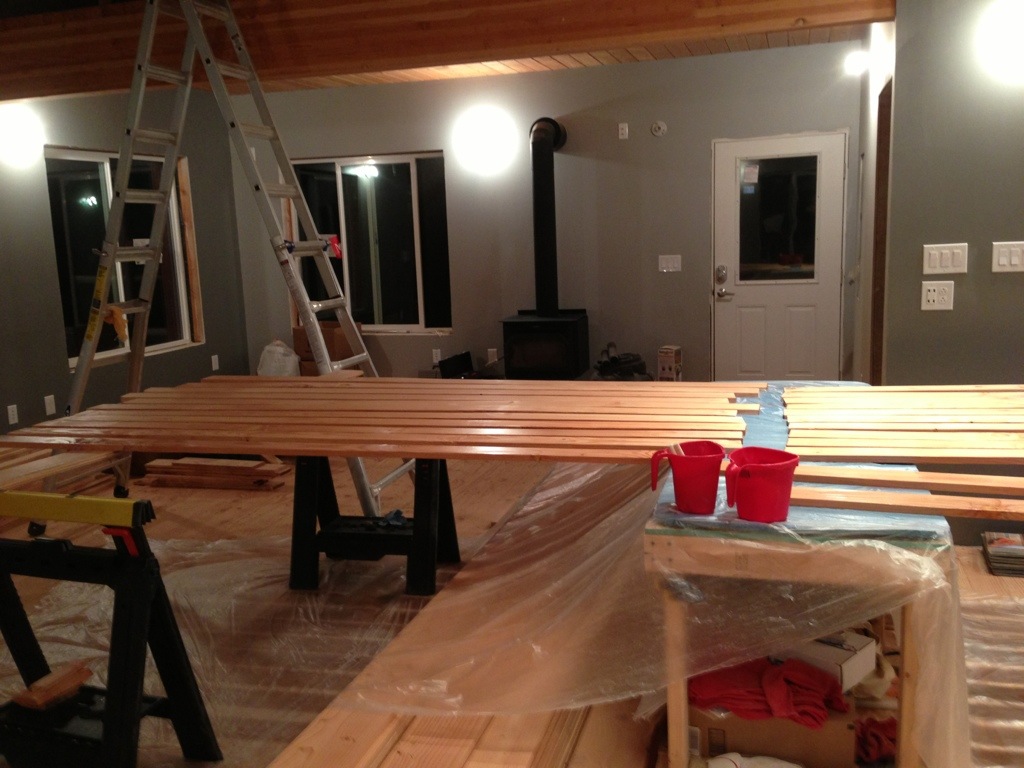
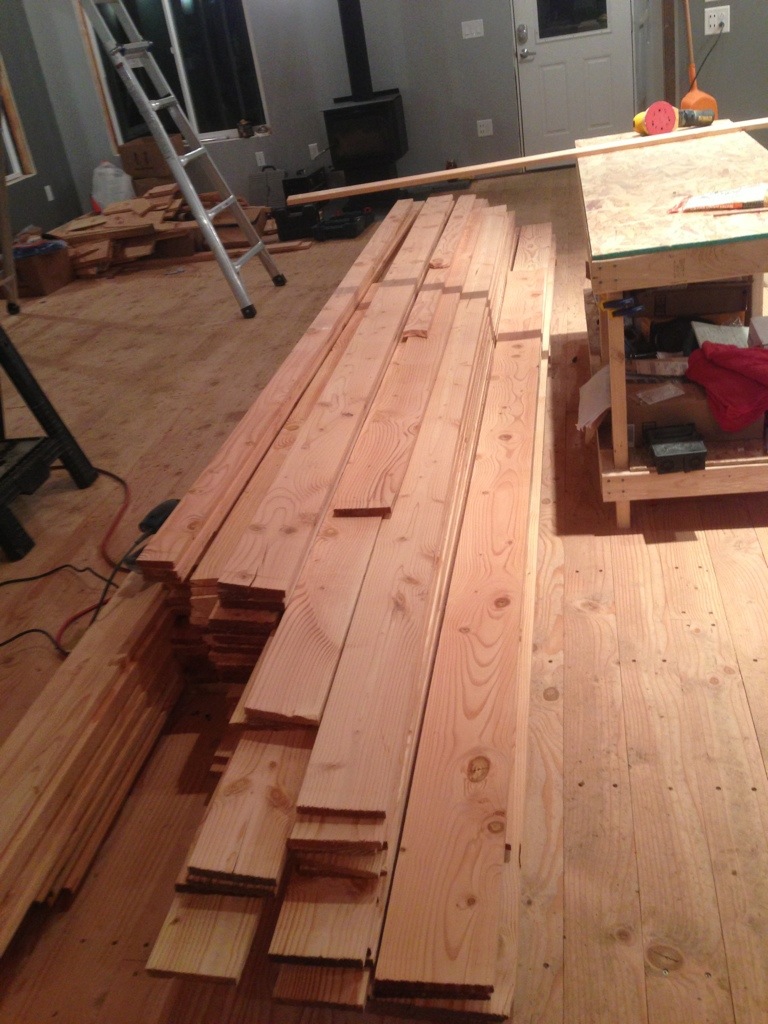
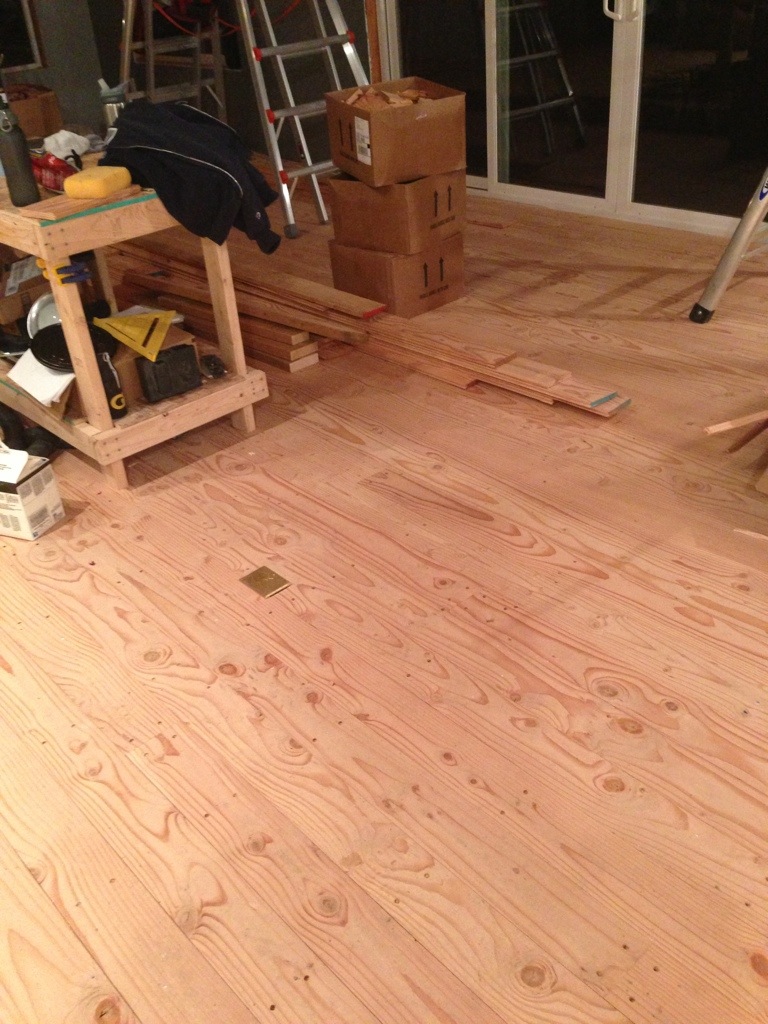
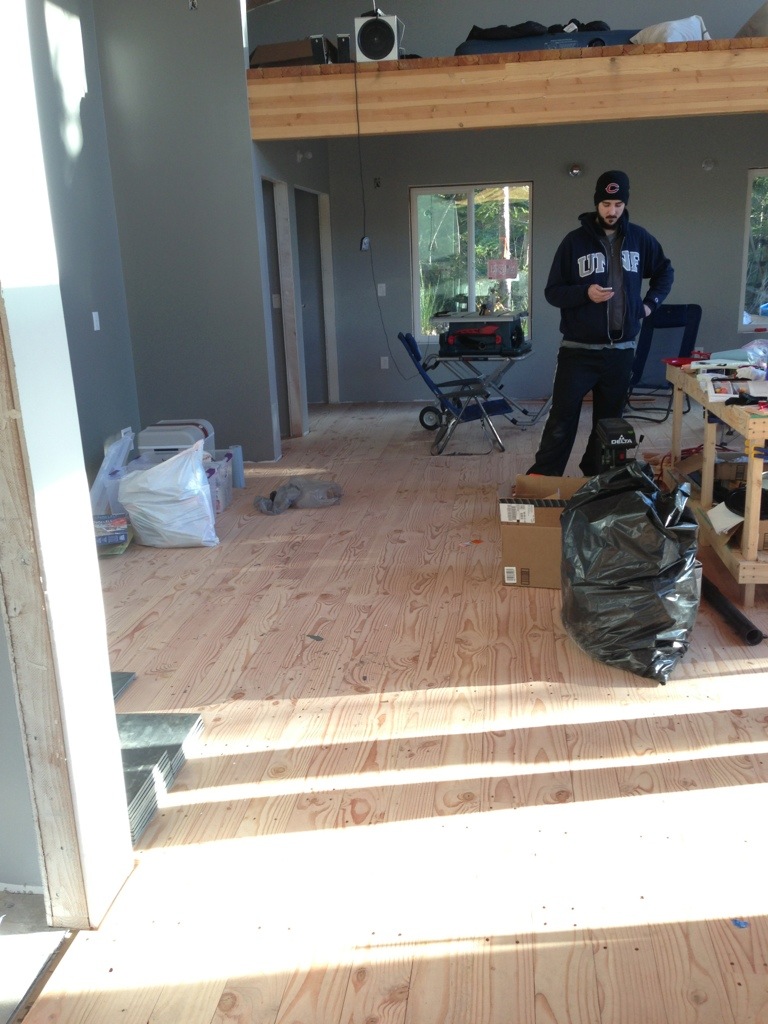
This weekend we prepared the floors to be sanded and finished. We had to move a lot of stuff to the shed, move stacks of heavy lumber to the lofts, and plug the holes where we counter sunk the screws that hold the floor in place. Next weekend, we will sand and finish the floors!

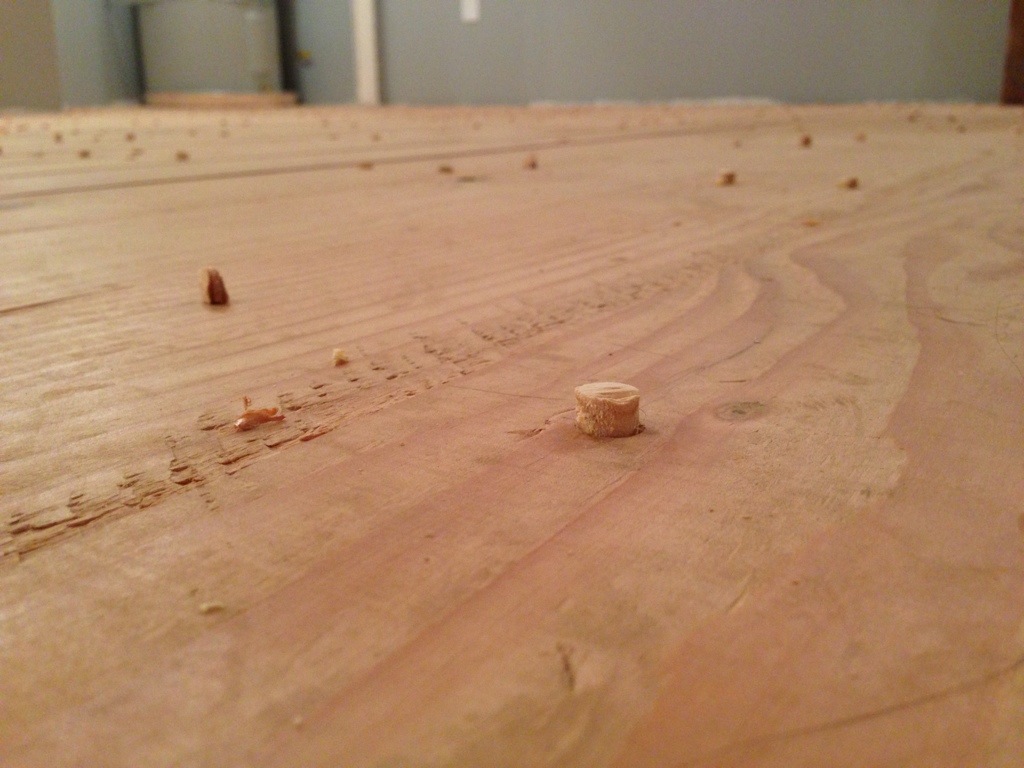
Here is a look at the holes before we plugged them.

20140209-183451.jpg

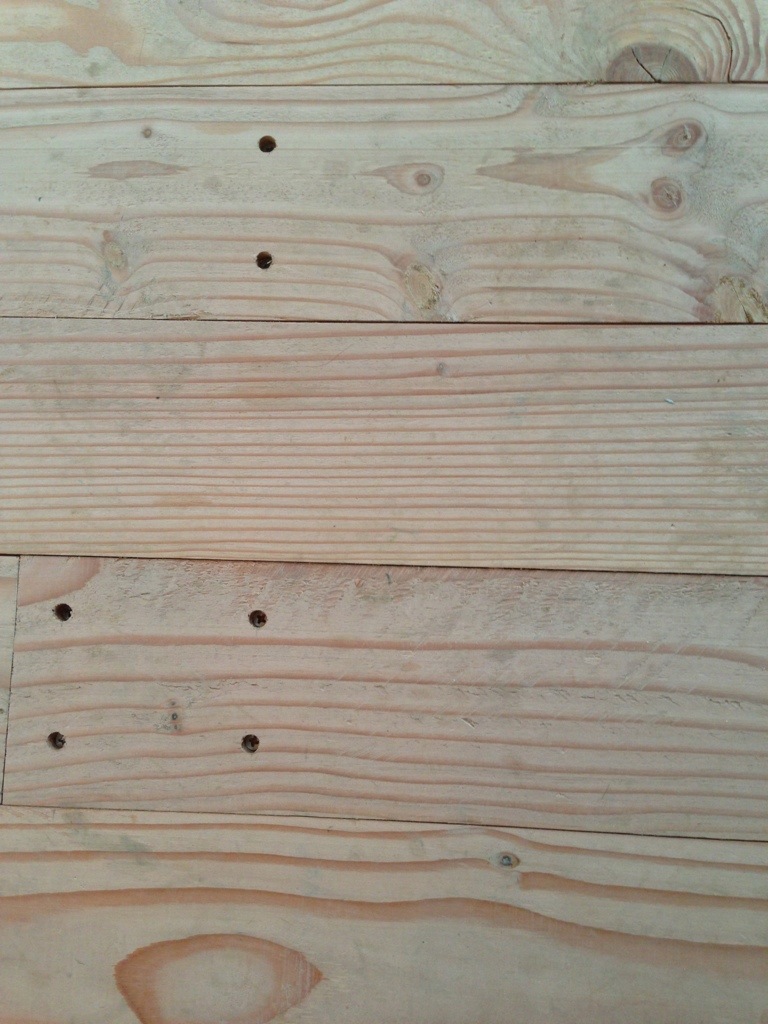
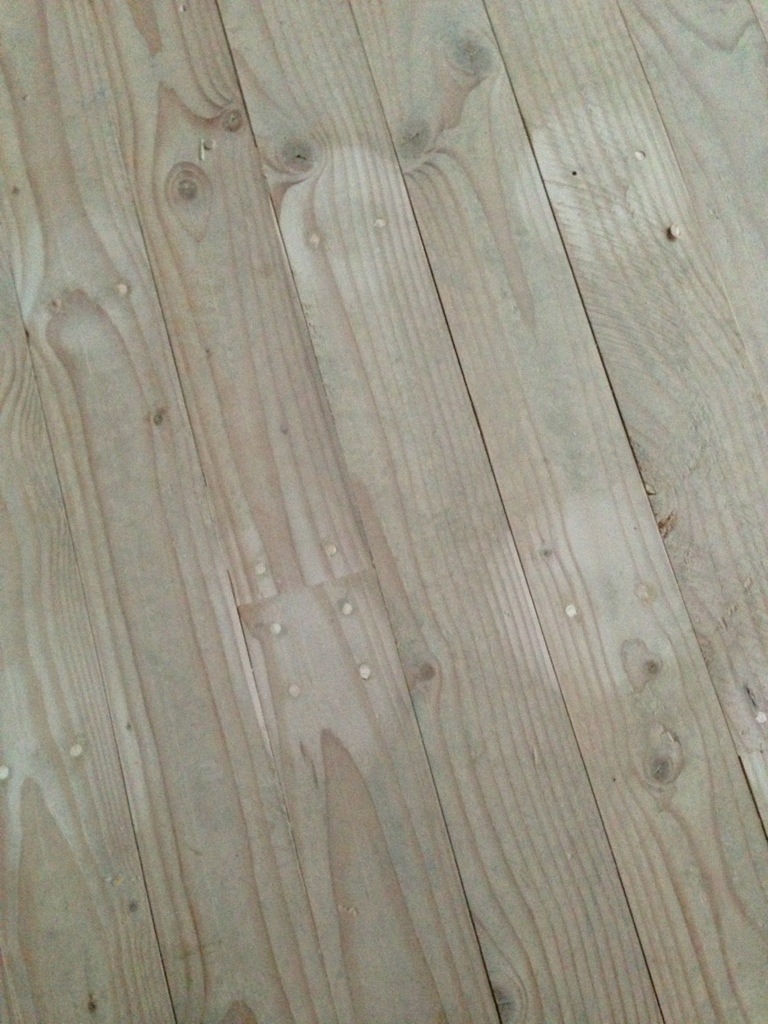
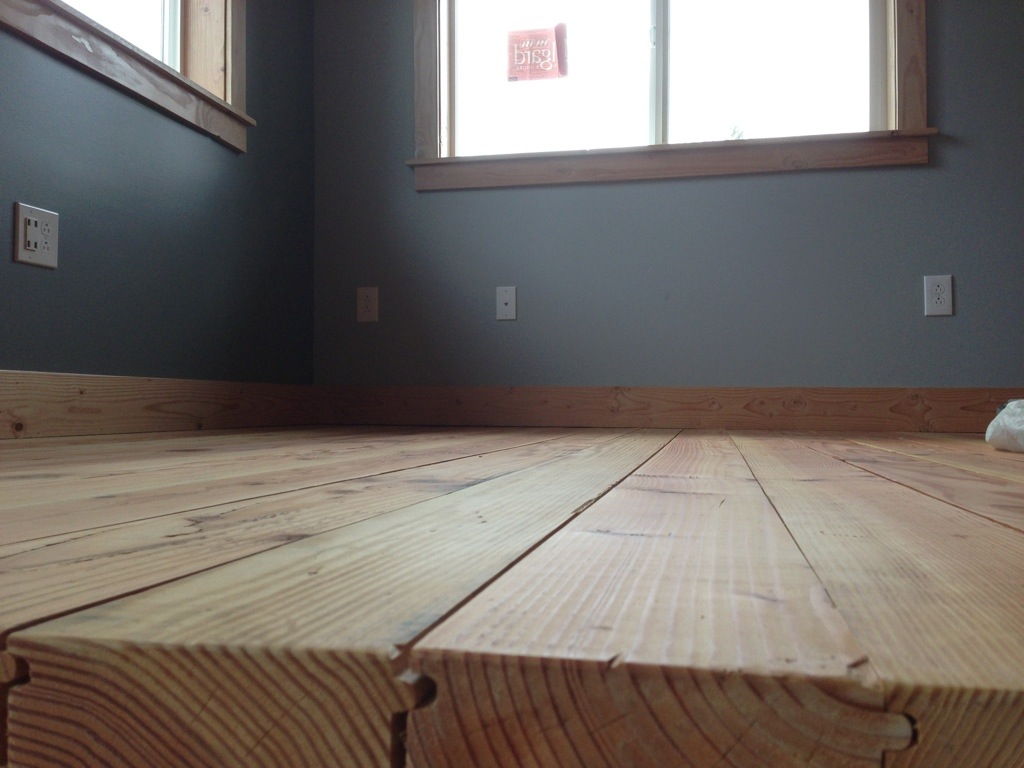
And a look at the plugs after we put them in. We used wood glue in the holes and then put the plug in. Sounds easy, but we were up until 4 am to get them done. Yikes!

20140209-183519.jpg

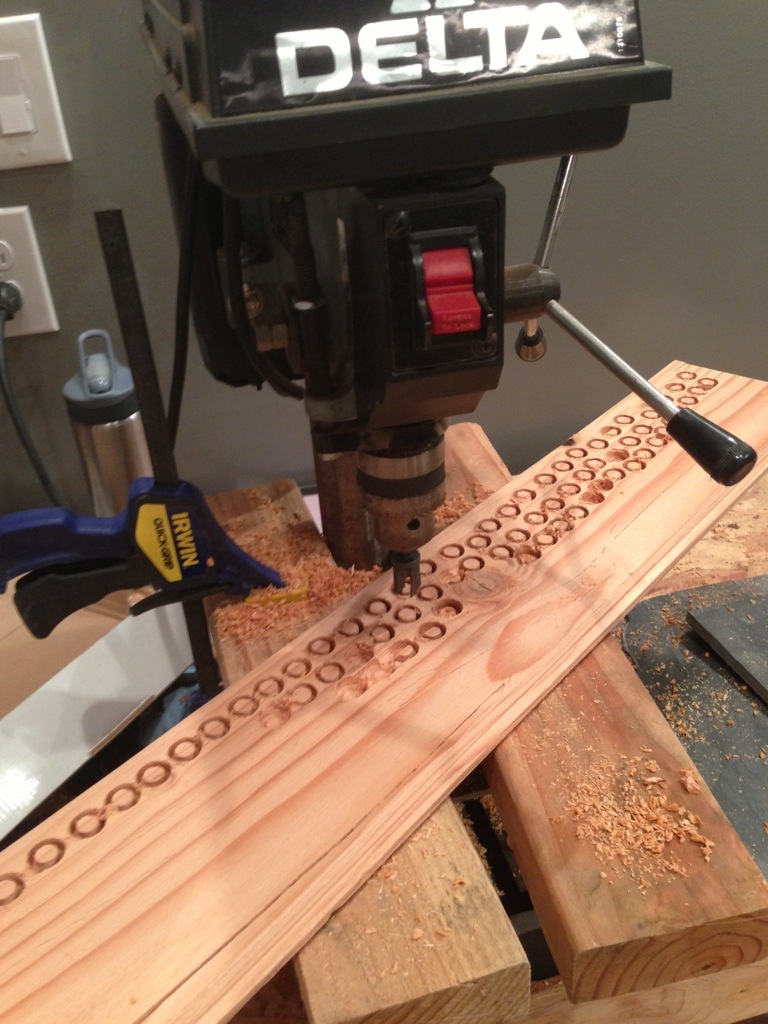
Here is a picture of how the plugs are made. We have a drill press that cuts little cylinders in the wood.

20140209-183532.jpg

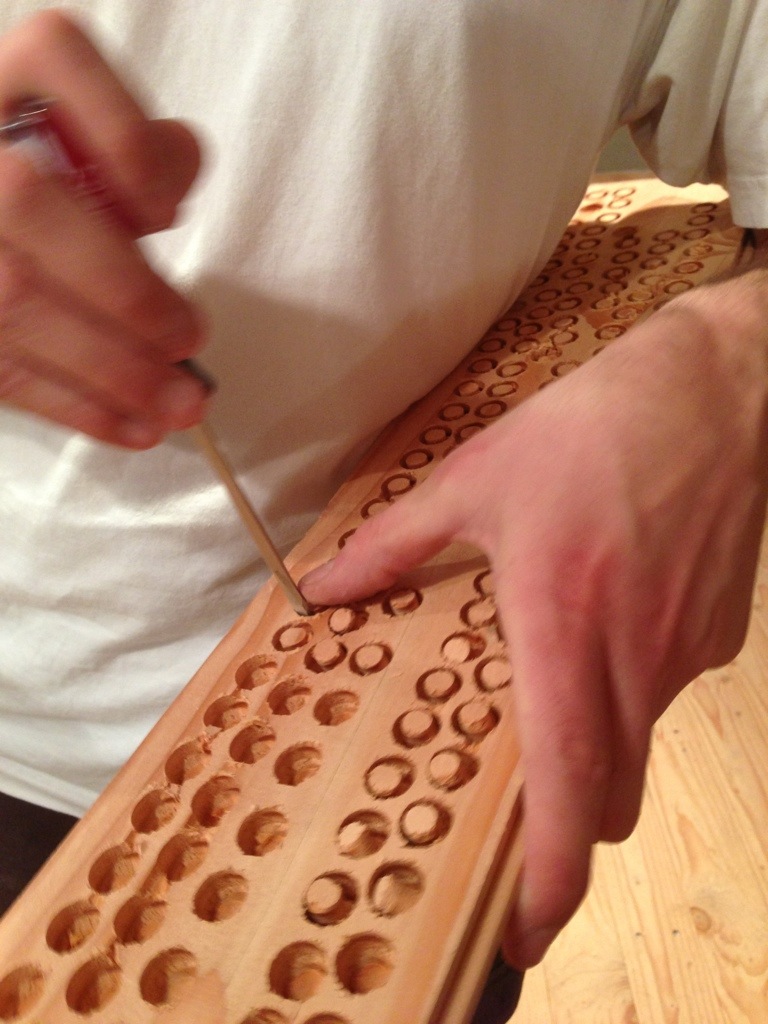
Then you pop them out with a screw driver.

20140209-183539.jpg

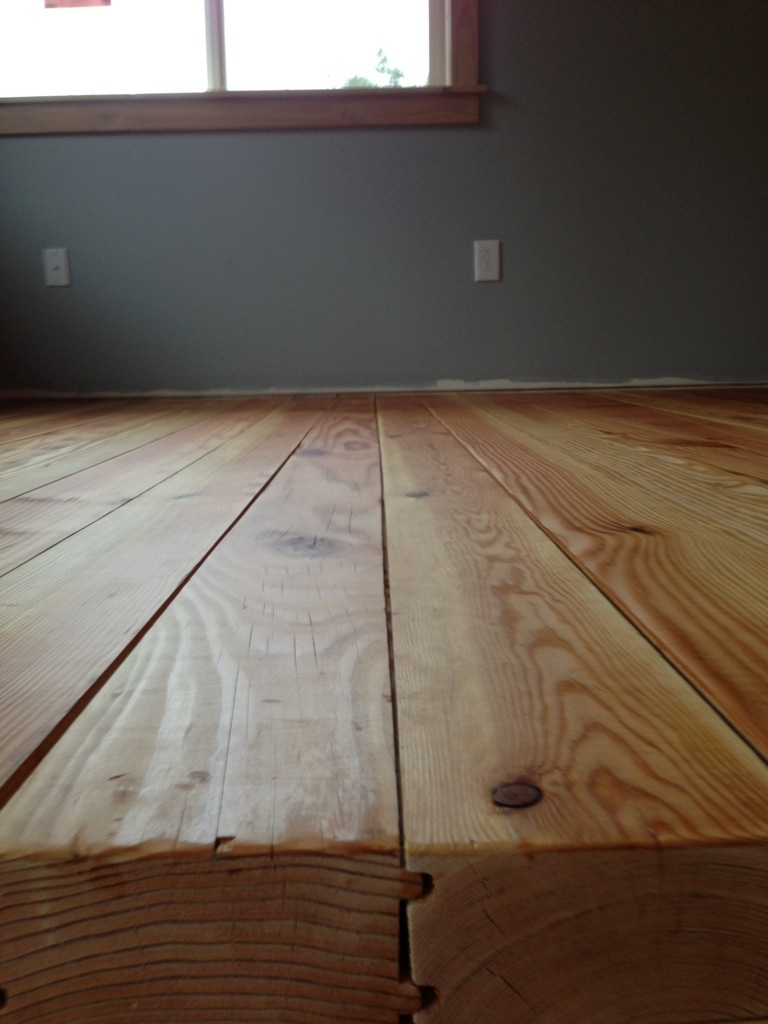
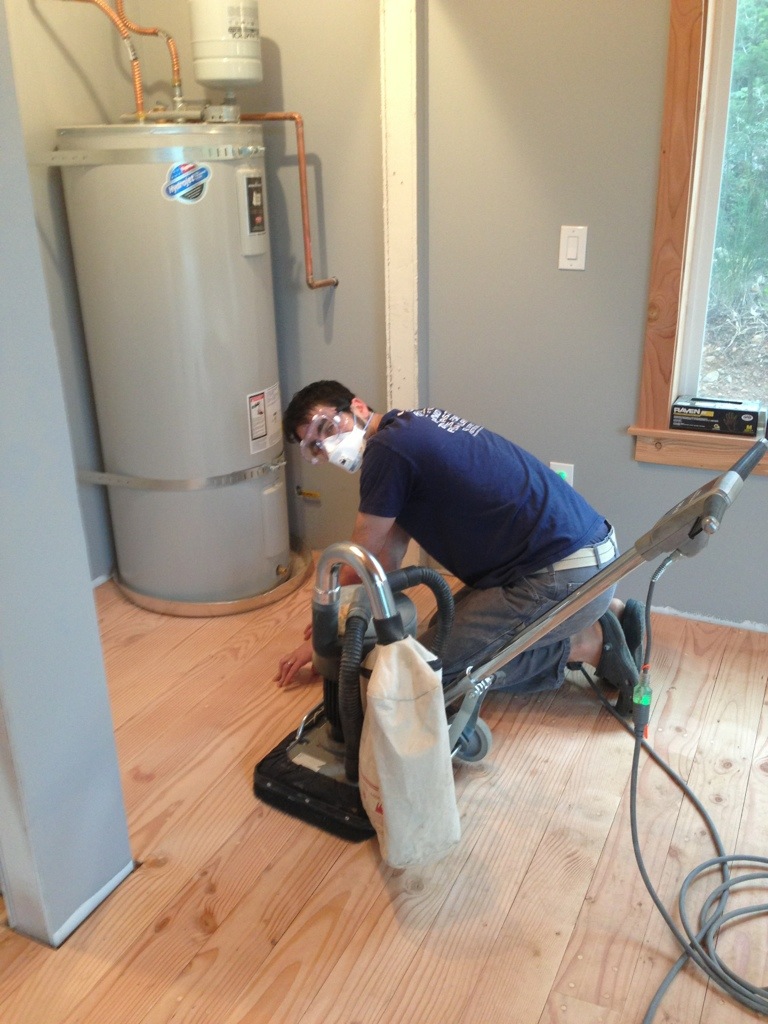
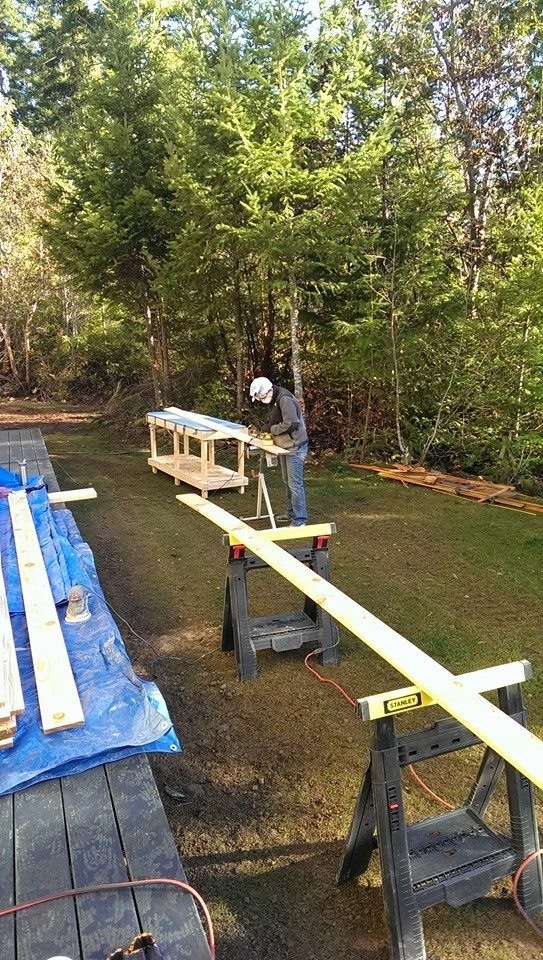
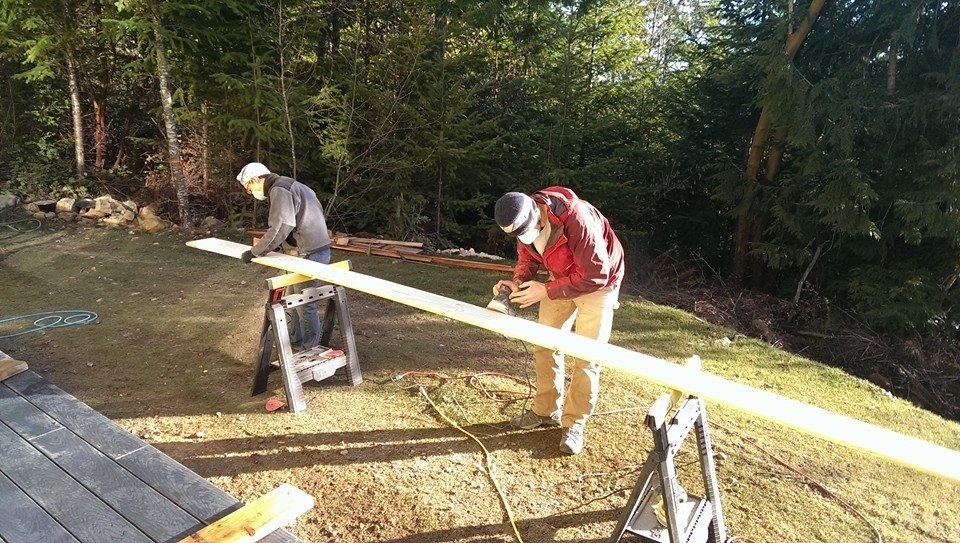
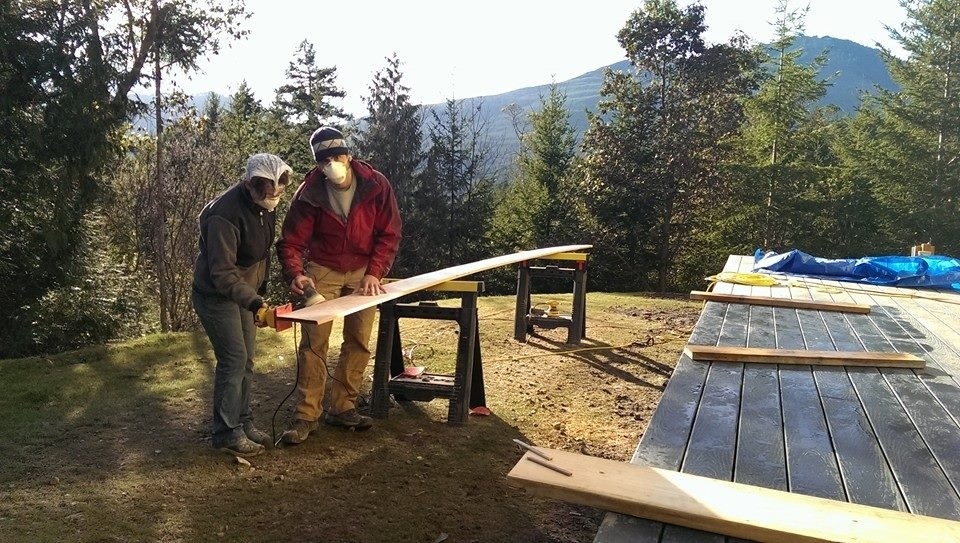
After you put them in and let the wood glue dry overnight, you have to cut them flush with the floor and do some sanding to make sure the edges of each plug won’t snag the floor sander.

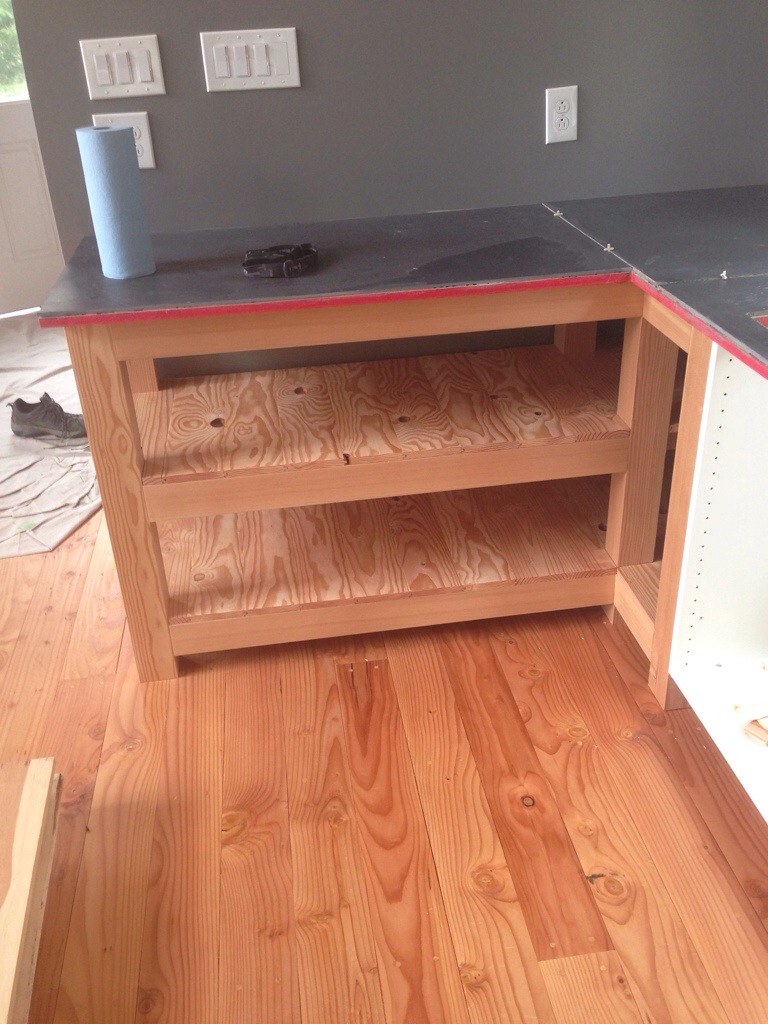
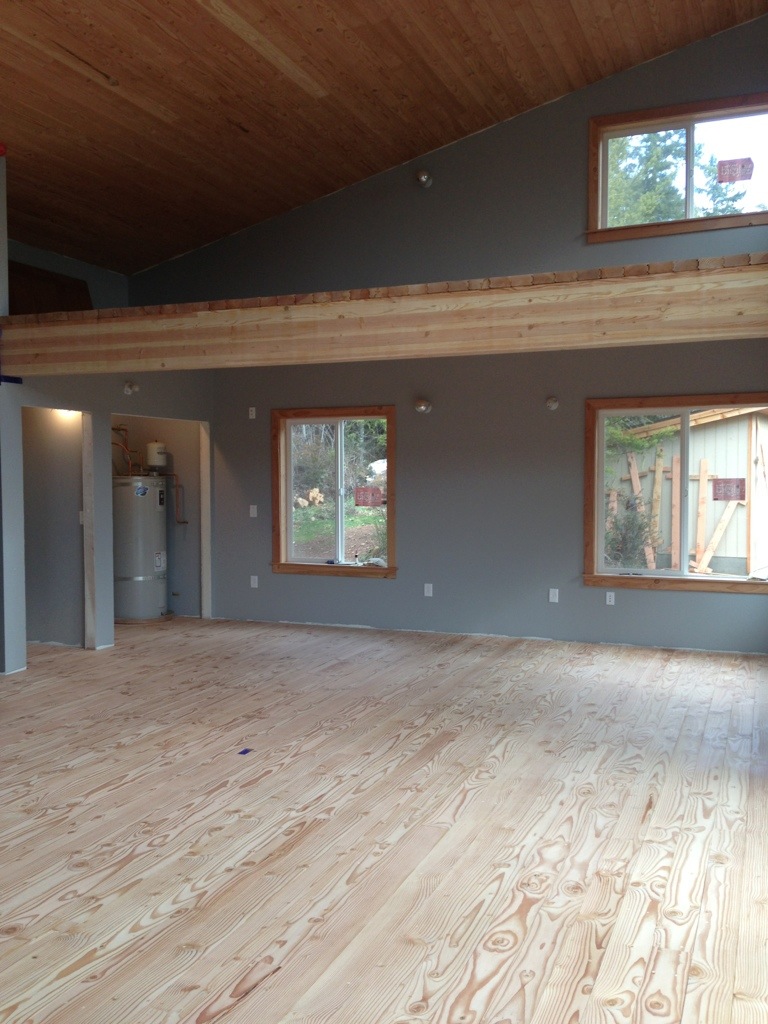
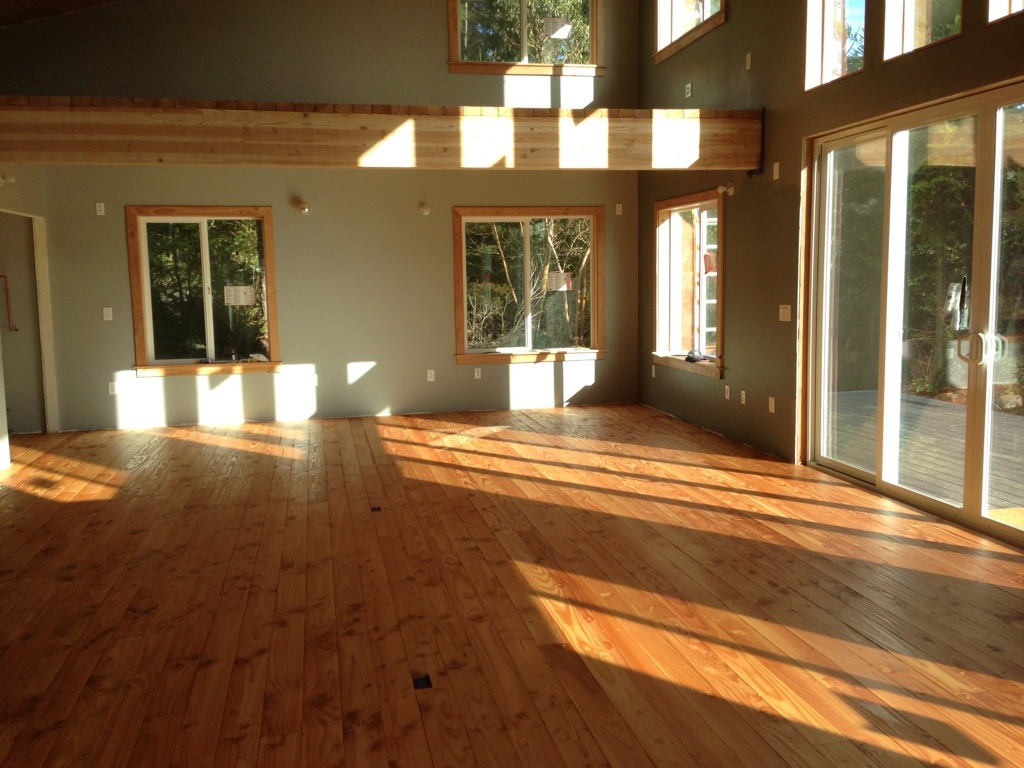
The , voila! A plugged floor.

20140209-183548.jpg

20140209-183555.jpg

Trim is up!

Here are a few pics of the before and after if getting the window trim up. Next project is finishing the floors and then putting up the baseboards and door trim.

The boards weren’t quite straight, but that gives them a lot of character!

Go hawks!

20140128-215834.jpg

20140128-215845.jpg

20140128-215854.jpg

20140128-215902.jpg